DIY Floating Shelves: A Beginner’s Step-by-Step Guide
Floating shelves are the rare DIY project that looks professionally installed, costs very little, and genuinely changes how a room functions. No visible brackets, clean lines, instant storage and display space. I’ve installed them in kitchens, bathrooms, bedrooms, and living rooms — and once you’ve done one set, you’ll want them everywhere.
This guide assumes you’ve never drilled into a wall before. Total cost: $25–$60 for a set of two shelves, depending on wood choice. Total time: about 2 hours including paint drying.
What You’ll Need
Materials ($25–$60):
– Wood boards: 1×8 or 1×10 pine boards, cut to length (a 6-foot board yields two 3-foot shelves). Pine is cheapest ($8–$12 per board); upgrade to oak or walnut-look stain for a richer finish.
– Floating shelf brackets: concealed-mount brackets ($10–$18 per pair) — these are metal rods that slide into the shelf. Get brackets rated for at least 25 lbs per shelf if you’ll hold books or dishes.
– Wood screws (usually included with brackets)
– Sandpaper: 120-grit and 220-grit ($4 for a multipack)
– Stain or paint + small foam roller or brush ($8–$15 if you don’t have any)
– Painter’s tape
Tools:
– Power drill + drill bits (including a bit matched to your wall anchors)
– Stud finder ($10–$15, or borrow one — this is the tool that matters most)
– Level (a phone level app works in a pinch, but a real 2-foot level is better)
– Pencil, tape measure
– Wall anchors rated for your wall type ($5) — only needed if you miss the studs
The stud finder is non-negotiable. Floating shelves live or die by anchoring. Into studs = rock solid. Into drywall alone = a future disaster. Borrow one if you must, but don’t skip it.
Check for wires and pipes before you drill. Never drill directly above, below, or beside an outlet or light switch — wires run vertically and horizontally from them. If your stud finder has AC wire detection, use it; if not, drill shallow pilot holes first and stop if you feel unexpected resistance.
Choosing Your Wood
- Pine (budget pick): $8–$12 per 6-foot board. Takes stain unevenly (use pre-stain conditioner, $6), but painted pine looks fantastic.
- Poplar: $12–$18. Smoother than pine, paints beautifully, slightly harder.
- Oak: $20–$30. Gorgeous stained, heavy, worth it for a statement shelf.
- Butcher block / live edge: $30+. The Pinterest-dream look. Save for when you’ve done a set in pine first.
Length rule: shelves look best at 24–36 inches for most rooms. Longer than 48 inches needs a third bracket or it’ll sag.
Step-by-Step Installation
Step 1: Plan placement (15 minutes)
Hold the board against the wall and eyeball it. Standard heights:
– Above a desk or dresser: 18–24 inches above the surface
– Kitchen shelves: 15–18 inches above the counter, 12+ inches below upper cabinets
– Bathroom: above the toilet tank, 24+ inches clearance
Mark the desired position lightly with painter’s tape — a full tape outline of the shelf on the wall. Step back. Live with it for ten minutes. Adjust.
Step 2: Find the studs (10 minutes)
Run the stud finder slowly across your marked area. Studs are typically 16 inches apart. Mark each stud edge with pencil — you want brackets hitting at least one stud per shelf, ideally two.
If your shelf span has no studs (happens in bathrooms and old houses): use toggle bolts or heavy-duty wall anchors rated 50+ lbs each. It works, but studs are always better.
Step 3: Prep the wood (20 minutes + drying)
- Sand with 120-grit, then 220-grit, always with the grain. The board should feel silky.
- Wipe off dust with a damp cloth.
- Stain or paint: one coat of pre-stain conditioner (if staining pine), then stain, wiping excess after 5–10 minutes. Or two thin coats of paint with light sanding between.
- Let dry fully — at least 2 hours for stain, per the can’s instructions.
Step 4: Mount the brackets (20 minutes)
- Hold the bracket’s mounting plate against the wall at your marked line. Level it — check twice.
- Mark screw holes with pencil through the plate.
- Drill pilot holes. Into studs: drill slightly smaller than your screws. Into drywall: drill for your wall anchors, tap anchors in.
- Screw the mounting plate firmly to the wall. It should not wiggle at all. If it wiggles, your anchors are wrong — fix now, not later.
Step 5: Slide on the shelf (5 minutes)
Most concealed brackets have rods that slide into pre-drilled holes in the back of the shelf. Some bracket kits include a drilling template — use it. Slide the shelf onto the rods, check level, and tighten the set screws (usually underneath) that lock the shelf to the bracket.
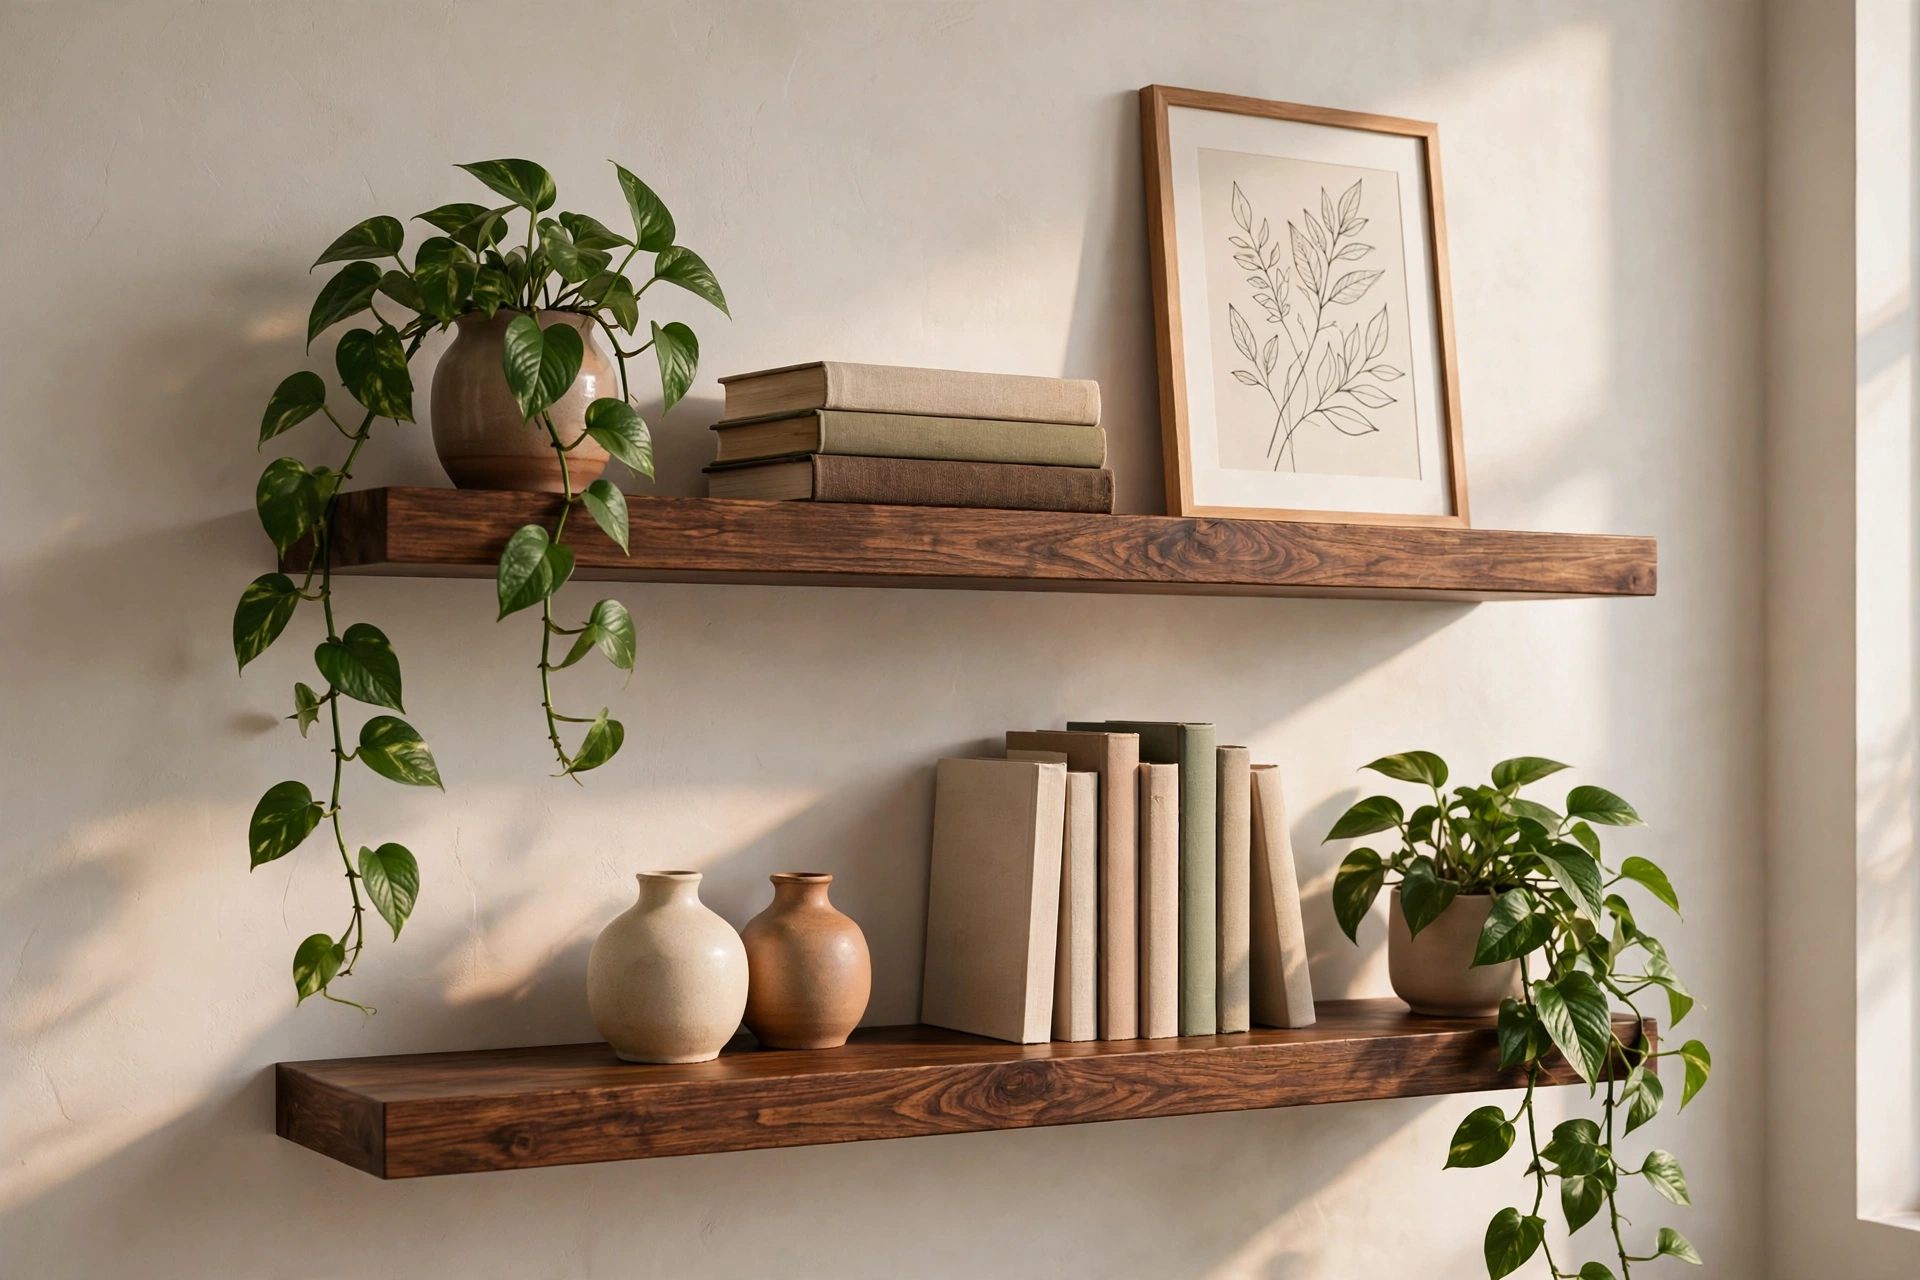
Step 6: Style it (the fun part)
- The rule of thirds: group items in odd numbers, vary heights.
- Function first: in kitchens, everyday dishes and glasses; in bathrooms, rolled towels and jars.
- Leave breathing room. A packed shelf looks cluttered; a shelf at 70% full looks styled.
- Anchor with something tall at one end (a vase, a stack of books) and trail smaller items toward the other end.
Common Mistakes (Learn From Mine)
- Skipping the stud finder. The #1 floating shelf failure. Don’t.
- Overloading. Respect the bracket rating. Books are shockingly heavy — a 3-foot shelf of hardcovers can hit 40+ lbs.
- Uneven stain on pine. Always use pre-stain conditioner on softwoods, or just paint.
- Mounting too high. If you can’t comfortably reach it, it’s decoration, not storage. Err lower.
- Forgetting the level. A shelf that’s off by even half a degree is visible. Check, drill, check again.
Cost Breakdown
| Item | Cost |
|---|---|
| Pine board (6 ft, makes 2 shelves) | $8–$12 |
| Concealed brackets (2 pairs) | $20–$36 |
| Sandpaper | $4 |
| Stain or paint | $0–$15 |
| Wall anchors (if needed) | $5 |
| Total for 2 shelves | $25–$60 |
Styling Formulas for Every Room
Once the shelves are up, use these room-specific formulas:
- Kitchen: everyday dishes stacked low and centered (heaviest near the brackets), glasses to one side, a small trailing plant at the end. Everything on kitchen shelves should be used weekly — otherwise it’s dust-collecting decor.
- Bathroom: rolled towels in a pyramid, a lidded jar for cotton rounds, one small plant that tolerates humidity (pothos, fern). Keep it to 3 item types max — bathrooms get cluttered fast.
- Bedroom: books standing with one leaning stack, a framed photo, a small lamp or candle. This is the “pretty” shelf — function lives in the closet.
- Living room: the rule of thirds — one tall item (vase with branches), one medium group (stack of 3 books with a small object on top), one low/trailing item (plant or draped beads). Odd numbers, varied heights, 30% empty space.
Seasonal refresh: swap one or two items per season (a pumpkin in October, pine sprigs in December, fresh flowers in spring). The shelf structure stays; the accessories rotate. Five minutes, whole new look.
Can floating shelves hold a TV or heavy electronics?
No — not on concealed-rod brackets. TVs and heavy equipment need a proper wall mount rated for the weight. Floating shelves are for decor, books, dishes, and towels, not electronics.
FAQ
Are floating shelves strong enough for books?
Yes, if bracketed into studs and rated appropriately. Use brackets rated 25+ lbs per shelf and keep heavy books toward the bracketed center. For a full library wall, use visible brackets instead — they’re stronger.
Can I install floating shelves without a drill?
Not securely. Adhesive “floating” shelves exist but hold only a few pounds of decor. For anything functional, you need a drill. Borrow one — the project takes 20 minutes of actual drilling.
What’s the best wood for floating shelves?
Pine for budget and painted finishes, oak for stained statement shelves. Avoid MDF for anything holding weight — it sags over time.
How do I hide the brackets completely?
Concealed-rod brackets slide into the shelf itself, so nothing shows. Make sure the shelf is thick enough (at least 1.5 inches) to swallow the rods, or buy a bracket kit that includes a drilling template for standard 1-inch boards.