DIY Fall Wreath Under $20 (Easy Step-by-Step Guide)
Store-bought fall wreaths run $40 to $80, and the pretty ones somehow always look a little… generic. A DIY fall wreath costs a fraction of that, takes about an hour, and looks like it came from a boutique — because you chose every stem yourself.
This is the project I recommend to every fall-decor beginner here at Nest Crafted. It’s forgiving (hot glue covers a multitude of sins), fast, and genuinely hard to mess up. Total cost: $12–$18, depending on what you already have at home. And once you learn the technique, you’ll start seeing wreath potential in every season — the same grapevine base works for spring, summer, and Christmas with different stems.
What You’ll Need
The base ($3–$6):
– One grapevine wreath form, 18-inch — the workhorse of DIY wreaths. Available at any craft store or dollar store. Grapevine is better than foam for fall because the twiggy texture already looks autumnal.
The greens and fillers ($5–$10):
– 2–3 fall floral picks or small garland pieces (faux eucalyptus, maple leaves, wheat stems — whatever catches your eye)
– A bag of preserved or faux berries, mini pinecones, or acorns for texture
Tools (probably already in your junk drawer):
– Hot glue gun + glue sticks
– Wire cutters or old scissors
– Ribbon for hanging (optional, $2–$3 for wired burlap ribbon)
Money-saving tip: raid your yard first. Real dried branches, pinecones, seed pods, and interesting twigs are free and look better than half the faux stuff. Just bake foraged pinecones at 200°F for 30 minutes to kill any hitchhikers before you glue them on.
Total: $12–$18 if buying everything; under $8 if you forage.
Step-by-Step: Building Your Wreath
Step 1: Prep your base (5 minutes)
Lay the grapevine wreath flat. Tuck in any wild twigs poking outward — you want a roughly even circle. If your wreath form has a flat back and a rounded front, work on the rounded side.
Step 2: Place your largest pieces first (10 minutes)
Don’t glue yet. Lay your biggest floral picks around the wreath to plan the design. The classic layout: cluster your feature pieces (big leaves, wheat bundles) in one lower quadrant — the 4-to-8-o’clock zone — and let smaller pieces trail around the rest. Asymmetry looks professional; perfect symmetry looks craft-store.
Step 3: Glue the anchor pieces (15 minutes)
Working one piece at a time, lift it, apply hot glue to the stem, and press it firmly into the grapevine, tucking the stem into the twigs so it holds mechanically as well as with glue. Start with your big anchor pieces, then fill in with medium pieces.
Step 4: Add texture and berries (10 minutes)
Now dot in your small stuff — berries, mini pinecones, acorns. These are the details that make a $15 wreath look like a $60 one. Cluster them in odd numbers (3, 5, 7) near your anchor pieces rather than spreading them evenly.
Step 5: Fill the gaps (10 minutes)
Step back and look for bald spots. Tuck in small leaf sprigs or filler pieces anywhere the grapevine shows through. The goal: lush, not sparse. A sparse wreath is the main thing that separates DIY from store-bought.
Step 6: Hang it (5 minutes)
Loop ribbon through the top and tie a bow, or just hang the wreath directly on a wreath hanger or nail. Burlap or wired ribbon in a warm neutral (cream, rust, mustard) finishes the look.
3 Design Formulas That Always Work
If choosing stems stresses you out, pick a formula:
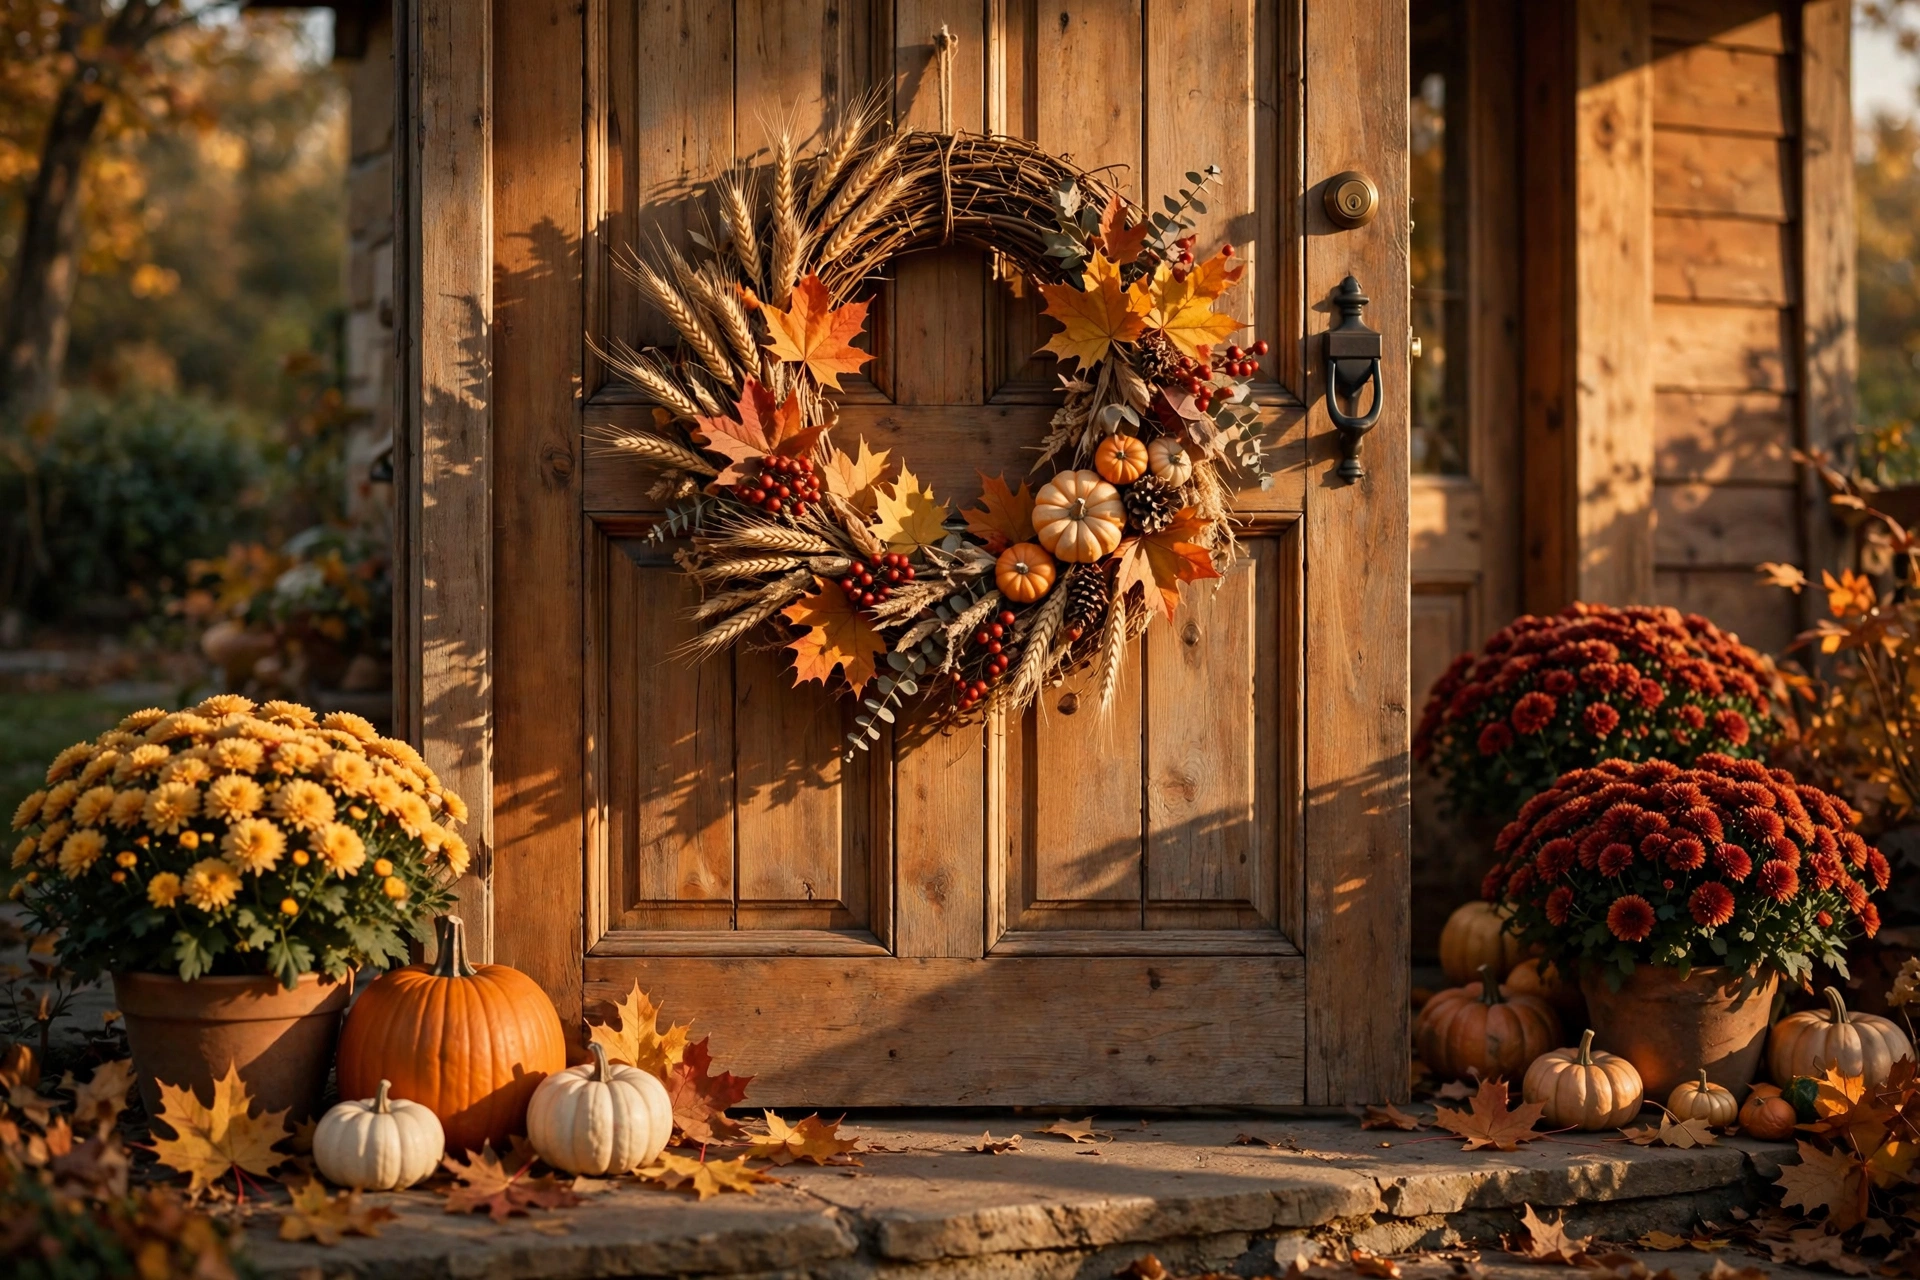
- Classic harvest: wheat stems + faux maple leaves + mini pumpkins. Warm, traditional, impossible to get wrong.
- Modern neutral: eucalyptus + cream berries + dried pampas grass. Understated and goes with any door color.
- Rustic woodland: pinecones + real twigs + faux mushrooms or acorns. Cozy cabin energy.
How to Make It Last
- Spray finished wreaths with a light coat of clear matte sealant ($4) if they’ll face direct sun or rain — it keeps faux colors from fading.
- Store flat in a wreath storage bag or a large trash bag with tissue paper between layers. A well-made grapevine wreath lasts 3–5 seasons.
- Refresh next year by pulling out the glued stems (they pop off grapevine fairly cleanly) and re-gluing new ones. The base is reusable almost indefinitely.
Cost Breakdown
| Item | Cost |
|---|---|
| Grapevine wreath form (18″) | $3–$6 |
| Fall floral picks (2–3) | $4–$8 |
| Berries/pinecones/acorns | $2–$4 |
| Ribbon (optional) | $2–$3 |
| Glue sticks (if needed) | $2 |
| Total | $12–$18 |
Compare that to $45+ for a comparable store wreath, and you made it yourself in an hour.
5 Wreath Variations for Different Styles
Once you’ve made the basic version, the same technique adapts to any look:
- Modern minimalist: skip the grapevine and use a thin gold or black metal hoop ($4–$6). Cluster eucalyptus and cream berries on just the lower third. Negative space is the design.
- Harvest abundance: go maximalist — layer wheat, dried corn husks, mini gourds, and raffia bow. The fuller the better.
- Woodland neutral: pinecones, dried seed pods, burlap ribbon, and twigs in natural browns and creams. Forage most of it.
- Halloween crossover: make the fall wreath first, then add black ribbon, mini skulls, or plastic spiders in late October. Pull them off November 1st and the wreath carries you to Thanksgiving.
- Kid-made version: let kids glue on the pinecones and berries (low-temp glue gun or craft glue) while you handle the structural pieces. Imperfect and charming beats perfect every time with kid crafts.
How do I hang a wreath without damaging my door?
An over-the-door wreath hanger ($5–$8) is the easiest — no nails, no adhesive, works on any standard door. For glass storm doors, a large suction-cup hook rated for the wreath’s weight does the job. Avoid nailing into metal or fiberglass doors; the hanger is cleaner anyway.
Can I make a fall wreath without a hot glue gun?
Yes — floral wire ($3) works and actually holds better outdoors in heat (hot glue softens in direct sun). Twist wire around stems and the grapevine base. It’s slower but sturdier.
FAQ
Can a beginner really make a wreath that looks good?
Yes — this is one of the most beginner-friendly crafts that exists. Grapevine bases are forgiving, hot glue is instant, and the “cluster, don’t symmetrize” rule does most of the design work for you.
How long does a DIY fall wreath last on the front door?
A faux-material wreath on a covered porch lasts the whole season easily, and stored properly, 3–5 years. Direct sun and rain shorten that — use the sealant trick above or hang it under an overhang.
What’s the cheapest way to make a fall wreath?
Forage your base materials (twigs, pinecones, dried seed heads) and buy only a grapevine form and glue. You can get under $8 total, and foraged wreaths often look the most expensive.
Can I use real leaves and branches?
Dried branches, wheat, and seed pods work beautifully. Fresh leaves will wilt and brown within days, so stick to dried or faux for anything leafy.